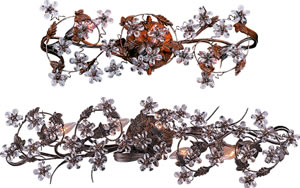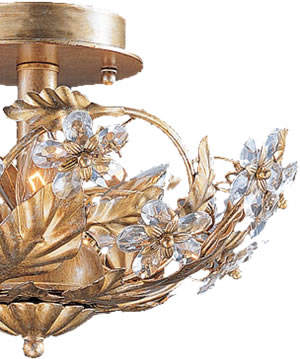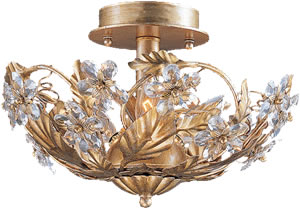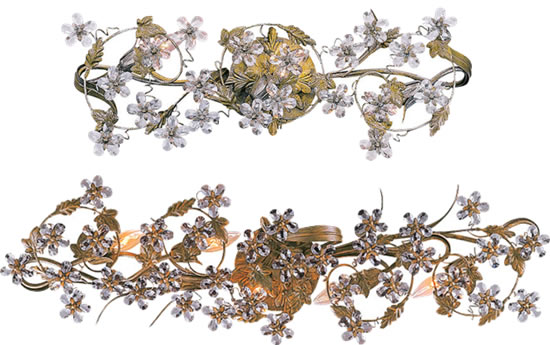
Abbie Bath Bars feature Hand Cut Crystal flowers shown in Gold Leaf finish
Crystorama Paris Flea Antique Reproduction Crystal Bath Bars 5304 & 5307 from the Abbie Collection
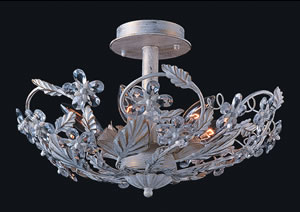
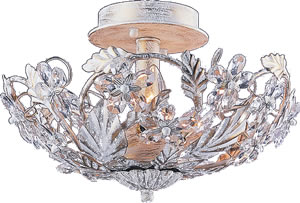
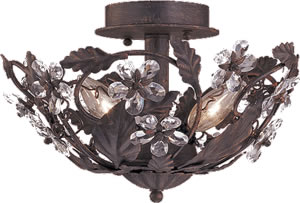
These bath bars from the Abbie Collection are available in Antique White, Dark Rust or Gold Leaf finish. They feature Hand Cut Crystal flowers on a Wrought Iron Frame.
5304 AW, GL, DR Paris Market
W25" x H10" x Extension6"
3 x 60 watt Candelabra
5307 AW, GL, DR Paris Market
33.5" wide x H10" x Extension6"
5 x 60 watt Candelabra
Finish: Antique White, Dark Rust or Gold Leaf
Crystal: Clear Hand Cut Crystal Flowers

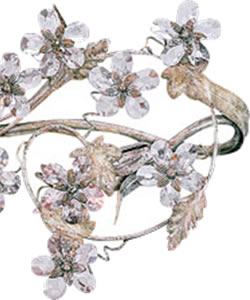
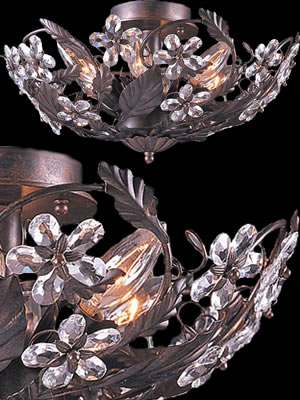
Abbie Bath Bars feature Hand Cut Crystal flowers shown in Antique White above and below in Dark Rust finish